Sunday, October 31, 2010

Our Beautiful Concrete Floor


Bedroom Floor with Leather Brown SoyCrete Stain


Floor Closeup

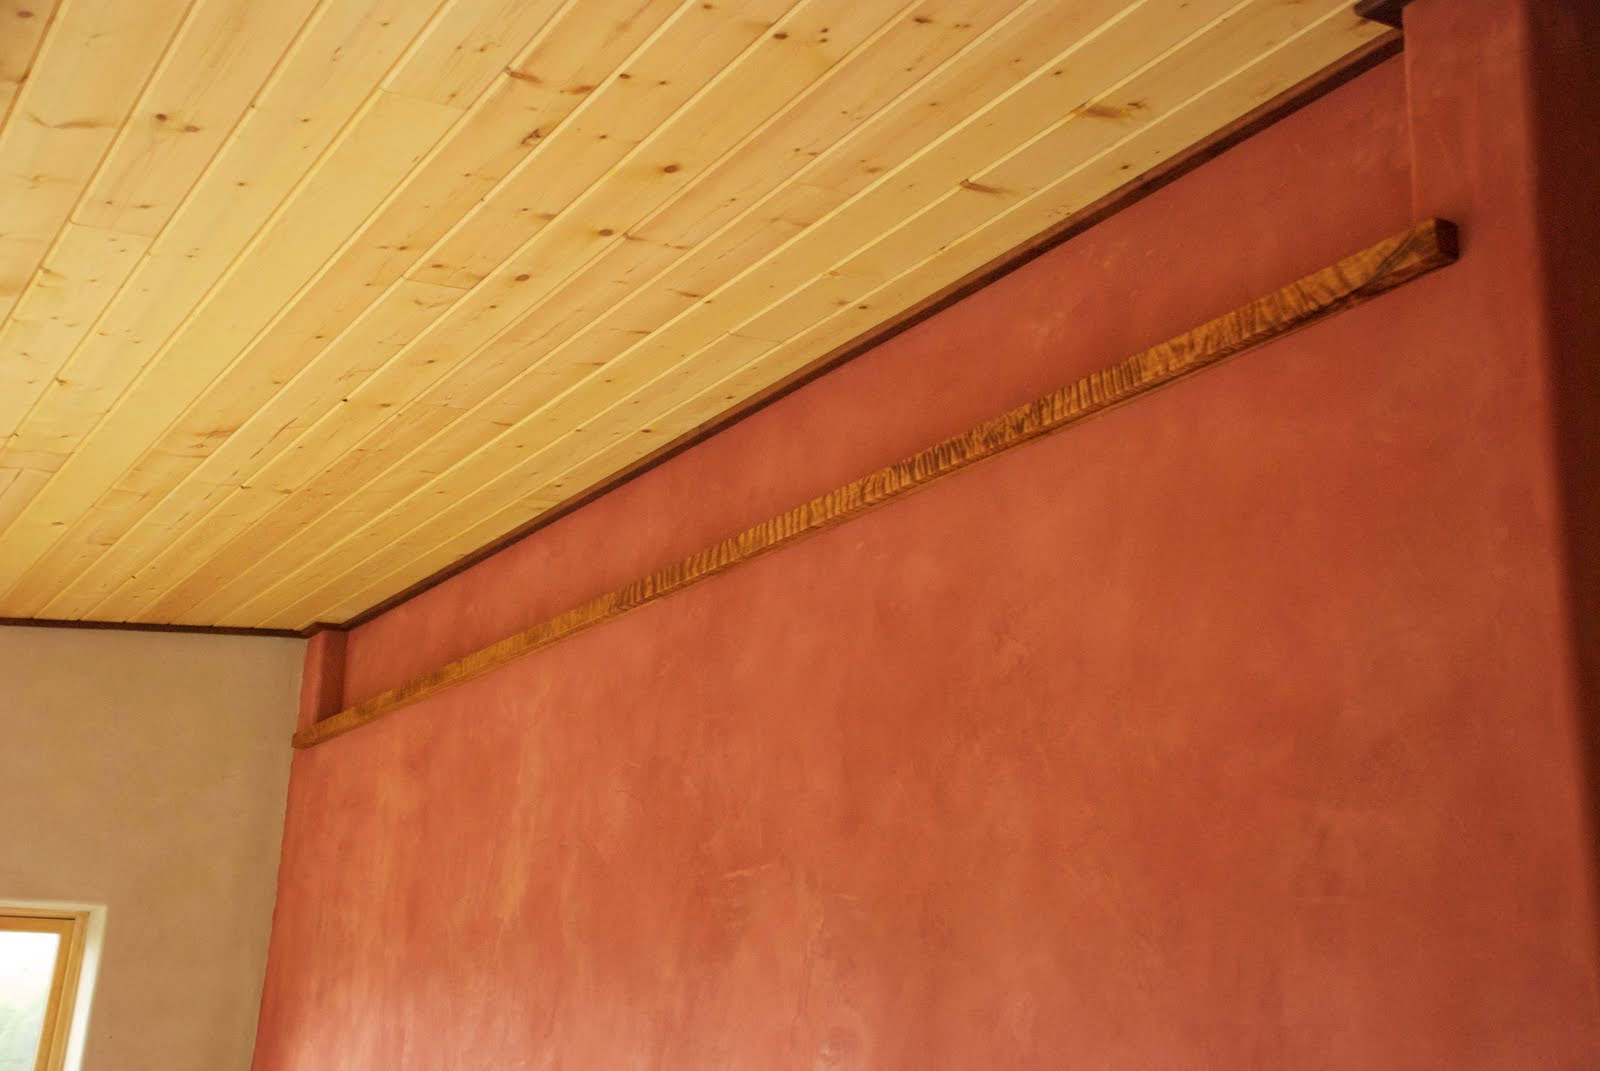
A Preview of the Trimmed-Out Look (the trim won't go in till later today)


Bathroom Floor with Espresso Concrete Stain


I spent all last week laboring over my bedroom suite floor, and at the end of it, I gave birth to a richly varied, stained concrete that warms the feeling of the entire space. As with using any new product in a new context, I worried and fretted over whether I was doing it right. I experimented in the closet first, and it's a good thing, because I don't like the results in there. The second space I completed was the bathroom, which turned out much better, and finally, the big main bedroom, a spacious pallet of color.

The process is multi-step: meticulously scrape all visible remnants of joint compound splats, plaster residue, and structolite off the floor. Sweep and vacuum, leaving as clean a surface as possible. Apply a concrete etcher, to clean and open the pores of the concrete (Ecoprocote EcoEtch), allow to dwell for about 10 minutes, then buff with a floor buffer. This process impressively cleans the floor, which by this point in the house project contains nearly two years worth of construction dirt and activity.

After buffing, vacuum up the wet stuff and rinse, rinse, rinse. Allow to dry. THEN, the fun part. Apply the stain (EcoProcote SoyCrete) with a foam mop, and work into the surface of the concrete. Once dry to the touch, buff with the floor buffer (a rather squirrely machine!) to smooth out the application marks.

A day later, apply the penetrating sealer coat, Acri-Soy. Finally, enjoy the fruits of your labor, and experience the drastic transformation of a blue-gray concrete slab into a lovely, mottled, warm-looking, homey floor.

The Ecoprocote products are a pleasure to work with. Ultra-low VOC, they don't stink, are safe to work around without safety equipment, and clean up with soap and water.

Finish trim details, and MOVE IN. Coming soon, this week.

Saturday, October 30, 2010

Comfort Food Recipes

As the season is winding down towards the winter solstice, and the garden is wrapping up its delights, and putting them away until next season, I am craving comfort foods: casseroles, warm soups, easy-to-chew things that are sweet and nourishing.

Last night's meal was a pesto-eggplant lasagne. Oh, it was good, so I thought I should post the recipe so others can enjoy it.

Pesto-Eggplant Lasagne

Ingredients:
1 package lasagne noodles
2 roasted eggplants (see instructions below)
1 recipe basil pesto (see instructions below)
1 recipe red sauce (or a jar of prepared tomato sauce)
2 large balls fresh mozarella
3 large slicing tomatoes for topping


Begin by roasting your eggplant.

2 medium globe eggplant
olive oil
salt
pepper

Preheat your oven to 400F or so. Oil a baking sheet. Slice your globe eggplants into rounds about 1/4 inch thick. Brush them all heartily with olive oil. Sprinkle with salt and pepper to taste. Bake about 15-20 minutes one side, then flip over and keep baking until they are very soft and lightly brown.


While that is roasting, make your pesto. You will need:

4 cups packed basil leaves
1-2 cloves garlic, pressed
1-2 Tbsp pine nuts or sunflower seeds
3/4 cups extra virgin olive oil
1/4 tsp salt

1/3 cup freshly grated Parmaggiano Reggiano

Place all but the cheese in the bowl of a food processor and pulse until smooth. Add in the cheese and set aside.

Next, make your Ricotta Custard:

1 15-oz. container of ricotta cheese
2 eggs
salt and pepper to taste

Beat the cheese and eggs together, and season with salt and pepper. Set aside.

NOW, if you are a superstar, you could make your own tomato sauce: Here's my favorite way:

Tomato Sauce

1.5 lbs sauce tomatoes, pureed in a food processor, or finely chopped
1 onion, finely diced
ground beef (optional)
3 cloves garlic
2 bell peppers
1 med. zucchini
herbs of your choice (basil, thyme, oregano, rosemary, sage, whatever you like)
1 cup of dry red wine (merlot or cabernet, for example)
bay leaf
olive oil
salt and pepper

Saute onions well in olive oil (10-12 minutes) over medium heat till very soft. If using meat, add now and stir until cooked. Add herbs, peppers, and zucchini, and saute until beginning to soften. Turn up the heat to high, and pitch the wine. Simmer until reduced by half, and then turn down the heat and add the pureed tomatoes and bay leaf. Cover and simmer as long as you like over low heat, to combine the flavors.

Assembling the Lasagne

Now that you've got all your components, begin your assembly. Scoop some sauce into the bottom of a 9x13 baking dish. Smear ricotta custard onto DRY (uncooked) lasagne noodles and lay into the pan in a layer. Cover with the roasted eggplant rounds. Cover with a layer of pesto. Lay another layer of noodles smeared with ricotta over top. Add more red sauce. Add another layer of noodles. Top with fresh mozarella, sliced, and fresh tomato rounds, if you've got them. COVER, and bake in a 375 F oven for about an hour. Serve with a green salad with balsamic vinaigrette, and listen to the comforting ooo's and ahhhh's around your table.

Thursday, October 28, 2010

Lots of Projects

We are on a mad mission. Karl is only here a few more weeks, and we are pushing to get as much done as possible. And we are really doing it. Making lots of progress. Every day. It's really thanks to all the great people we have working for us. Yay team!

To start, we are VERY close to being done with our bedroom! We slept out there for the first time last weekend, and today, I am about to stain the main floor. Karl did the ceiling trim and it's gorgeous. Also, a sill for our little recessed lighting cove with this amazing curly redwood. I think he did an awesome job here.

Ceiling Trim and Curly Redwood Sill, look how beautiful!


Meanwhile, I was designing our cabinets for our bathroom and kitchen. We mocked up the kitchen to approximate the locations of the cabinets/counters and the island. I spent a few days on the computer, which was hard on my back, but yielded a solid overall design.

Kitchen Mockup


Then this week, I began base plastering the remainder of the main room walls, and started on concrete staining the bathroom and closet floor, while Karl and Aaron were installing the wood ceiling in our guest/massage room and the entry way. Done, done, and done.

Living Room Base Coat Plaster


Guest Room Ceiling Done


Bathroom Floor with Concrete Stain

It's fully into the rainy time now, so there's nothing to do BUT work on the house. Indoors is the place to be.

Wednesday, October 6, 2010

Main Ceiling Finished!


After four solid days of work with the dream team, consisting of Karl and Aaron slinging nail guns, and yours truly running the chopsaw, we completed the entire big room ceiling today. It feels so satisfying. Partly because a project finished is a project finished, but also because it is SO damn beautiful. This wood sings. It is reflective, and warm, and looks phenomenal in that space. Now for plaster in that room, I think the wood will look even better with the plaster right up next to it.

We also had team girl today, Jemma and Hope staining additional boards for our next ceiling project. We had Kai on the roof, slow and steady, too. Jemma also finished the last of the compression in our bedroom, meaning we're now ready to tackle the floor project.

Ahhh. Progress. I'm ready for bed!

Monday, October 4, 2010

Fall Garden


The fall garden in the Mattole is really where it's at. All you Central Valley peeps have your tomatoes in June, and all you Calistoga folks have your corn seven feet tall by 4th of July, but on the coast, here in the Mattole hole, we have the September/October garden peak. I tend to forget this, when nothing is ready by our Leo Party in August, when my aunt asks me what is ready. Usually only cucumbers. And she doesn't like them.

But once things fully dry out in the indian summer, and the sun is low and hot, we start our tomato pump, and the zucchini ride, and the corn is happening too fast to eat it all, and we STILL have cucumbers. And the winter squash is almost done, and the raspberries and strawberries are still happening, the green beans are still giving 4-5 pounds every three days, and the eggplant has at last begun to make fruit, and the peppers are even turning red, THEN I remember why I labor over those little seeds in flat, struggling to keep them warm in March, when they really should be snug in their seed packets in the shed.

All that, and we already have some of our winter crops, like carrots and beets. It's really a tremendous feeling of abundance to have all this food coming steady out of the garden. We've got extra people here, and we are not short on veggies. I don't really need to buy anything at the store but avocados, lettuce, and cabbage. And we'll have some of our own here soon.

And did I mention the egg machine? If you want eggs all winter, it's imperative to have April chicks, because they will lay eggs through their first winter. At the last minute this year, I bought 12 more laying hen chicks one April day when I was in town. Barred Rock beauties. We've been seeing a few pullet eggs here and there for a few weeks, but two days ago, we suddenly came in with 16 eggs in one day. Usually, we get 7-9. But now we have overlap, the new girls are all beginning to lay, and the old gals haven't quit for the winter yet. Hello, souffle!

I haven't posted a recipe in ages, but here's a summer favorite, to use up some of these veggies:

Cucumber-Cherry Tomato Salad

4-5 sweet garden-fresh cucumbers, cut in half, and sliced
2 handfuls Sungold cherry tomatoes, cut in half
2 sprigs fresh basil, chopped
~ 1/8 cup fine olive oil, or to taste
~ 1/4 cup apple cider vinegar, or to taste
~ 1/4 tsp. salt
a few dashes of toasted sesame oil

Mix together in a bowl, and enjoy heartily, around a table filled with family and friends. There really is a lot of latitude with this recipe, I make it a little differently every time, and the quantities of dressing are VERY inexact. Do what tastes right to you, the basic flavors carry through. Bon appetit!

Hanging the Main Room Ceiling


Last week, Karl and Aaron and I got to hanging ceiling wood over the kitchen/living/dining rooms. After an entire day just hanging the first course, getting it just right so that we didn't need any trim up against our showpiece redwood beam, we jammed on everything else you see here in one day.

This wood is really a treat. It is recycled straight-grain douglas fir. Which doesn't really capture the natural variation of color, grain, and patterning. It looks as though it could be a floor, but it's on the ceiling! Even better is that most of it was already coated with clear sealer, meaning for most of it, we won't have to do this. I'm looking forward to getting more of this done this week.